preventDefault Explained in JavaScript
If you work with JavaScript events before, you've likely come across the preventDefault method.
In this article, we'll learn what preventDefault is and how we can use it in our code.
Default Browser Events
First of all, let's talk about browser events in general. You see, most of the events that occur in the browser have default actions associated with them.
For example, let's say we had an anchor tag for "wikipedia.org"
<a href="https://www.wikipedia.org">Wikipedia</a>

When we click on it, it takes us to wikipedia.org. No surprise there!
For that action to happen, however, notice that we didn't have to do anything special. All we did was set up an anchor tag with an href attribute. We didn't explicitly create an event handler for this.
The browser has a default action for anchor tags. And that default action takes us to the link specified by the href.
There are, of course, other default actions that the browser executes for various event types.
For example, by default, clicking on an input of type checkbox toggles it on and off.
<a href="https://www.wikipedia.org">Wikipedia</a> <input type="checkbox" />


Again, notice we did nothing explicitly to enable that.
Another example could be input fields. When the user types into an input field, text characters get added, yet we don't create that behavior ourselves.
And, perhaps, the most common browser default is on a form submission. When a user clicks the submit button in a form, that form, by default, takes us to the URL value of its action attribute.
Overriding Default Behavior
Sometimes, though, we don't want the default action the browser gives us when an event is fired.
Instead, we want to implement some custom behavior or functionality.
Let's see how we can do that in our code using preventDefault.
For this example, let's write some JavaScript.
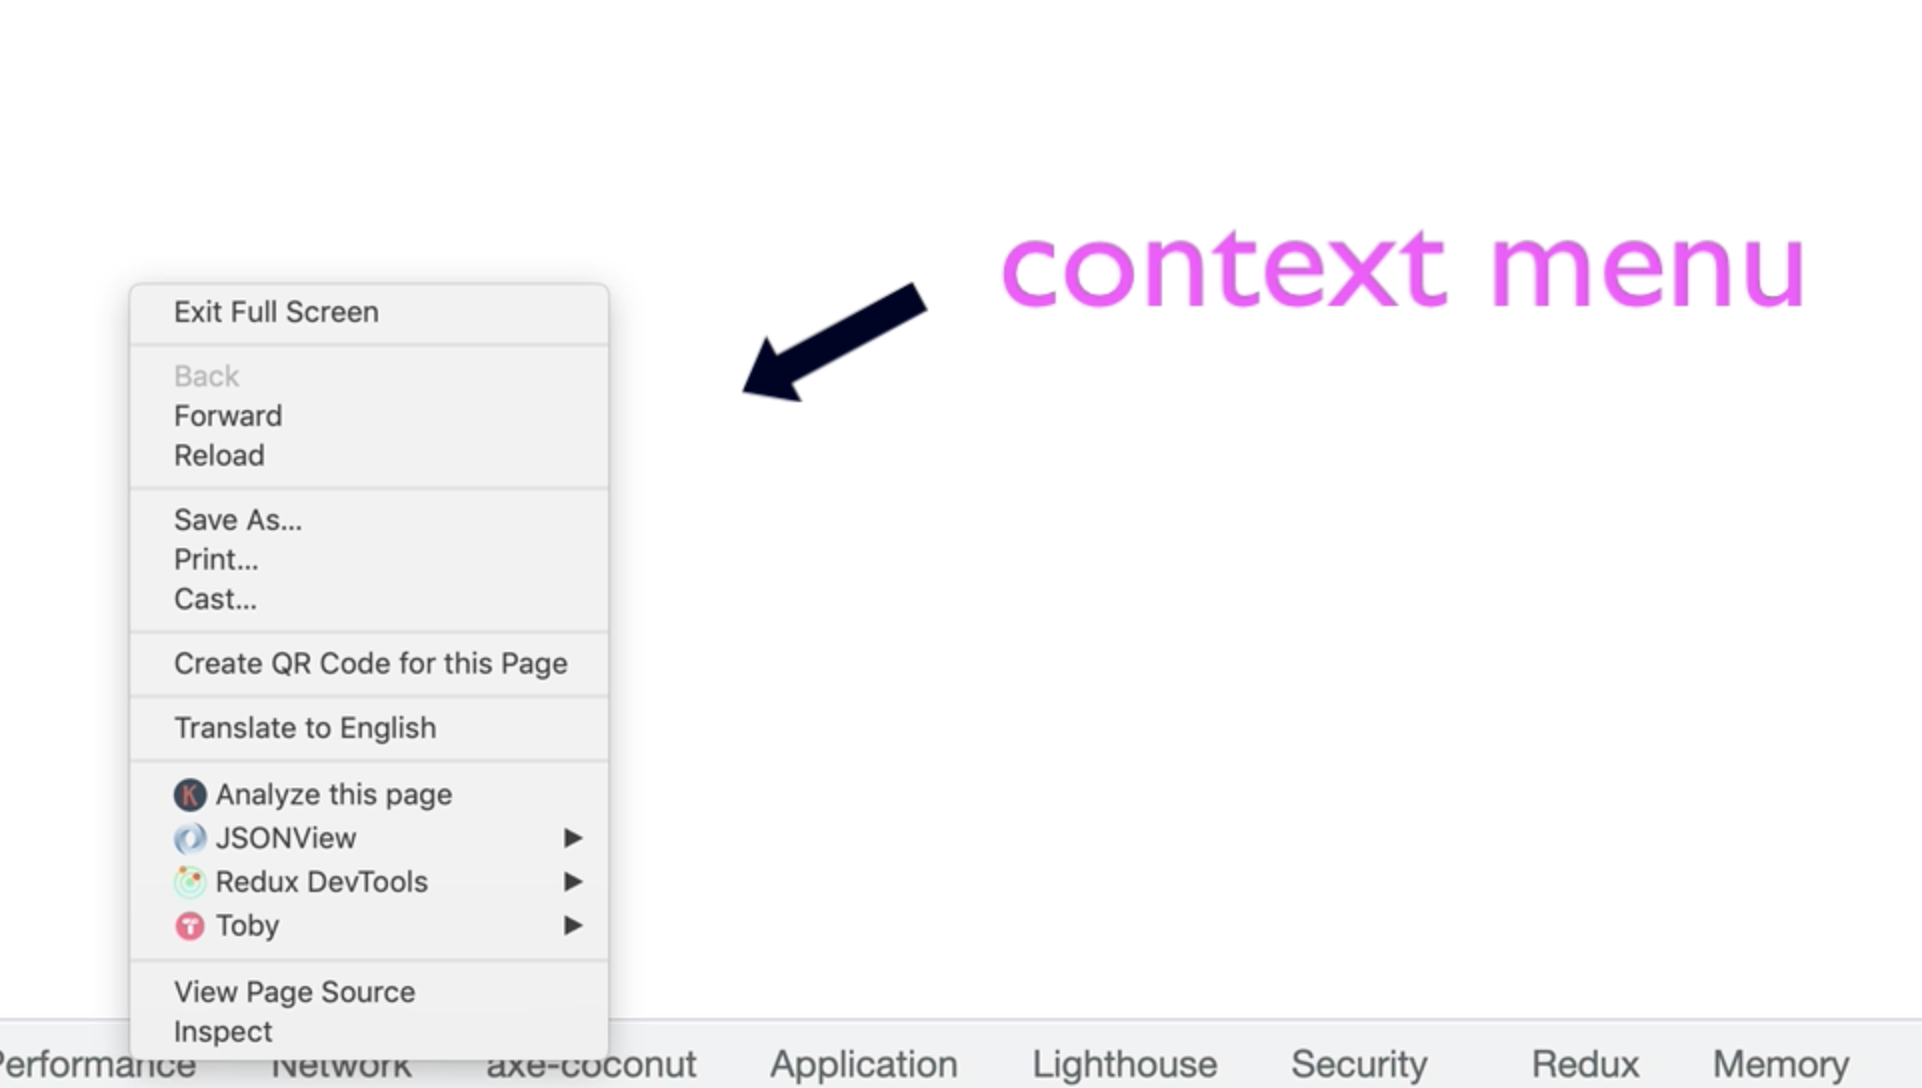
Let's listen for an event on the window object. That event will be the contextmenu event.
window.addEventListener("contextmenu", (e) => {
  console.log(e);
});
Here we're using the addEventListener method to register an event handler which will be invoked when the contextmenu event type is fired.
The contextmenu, fired by right-clicking the mouse or with a control-click(on a Mac), looks something like this:
And note that whenever we use addEventListener, we automatically get access to an event object.

In our code example, we refer to that event object with the letter e. (The letter e is a common naming shorthand for the event object. You will also often see this referred to as ev or evt).
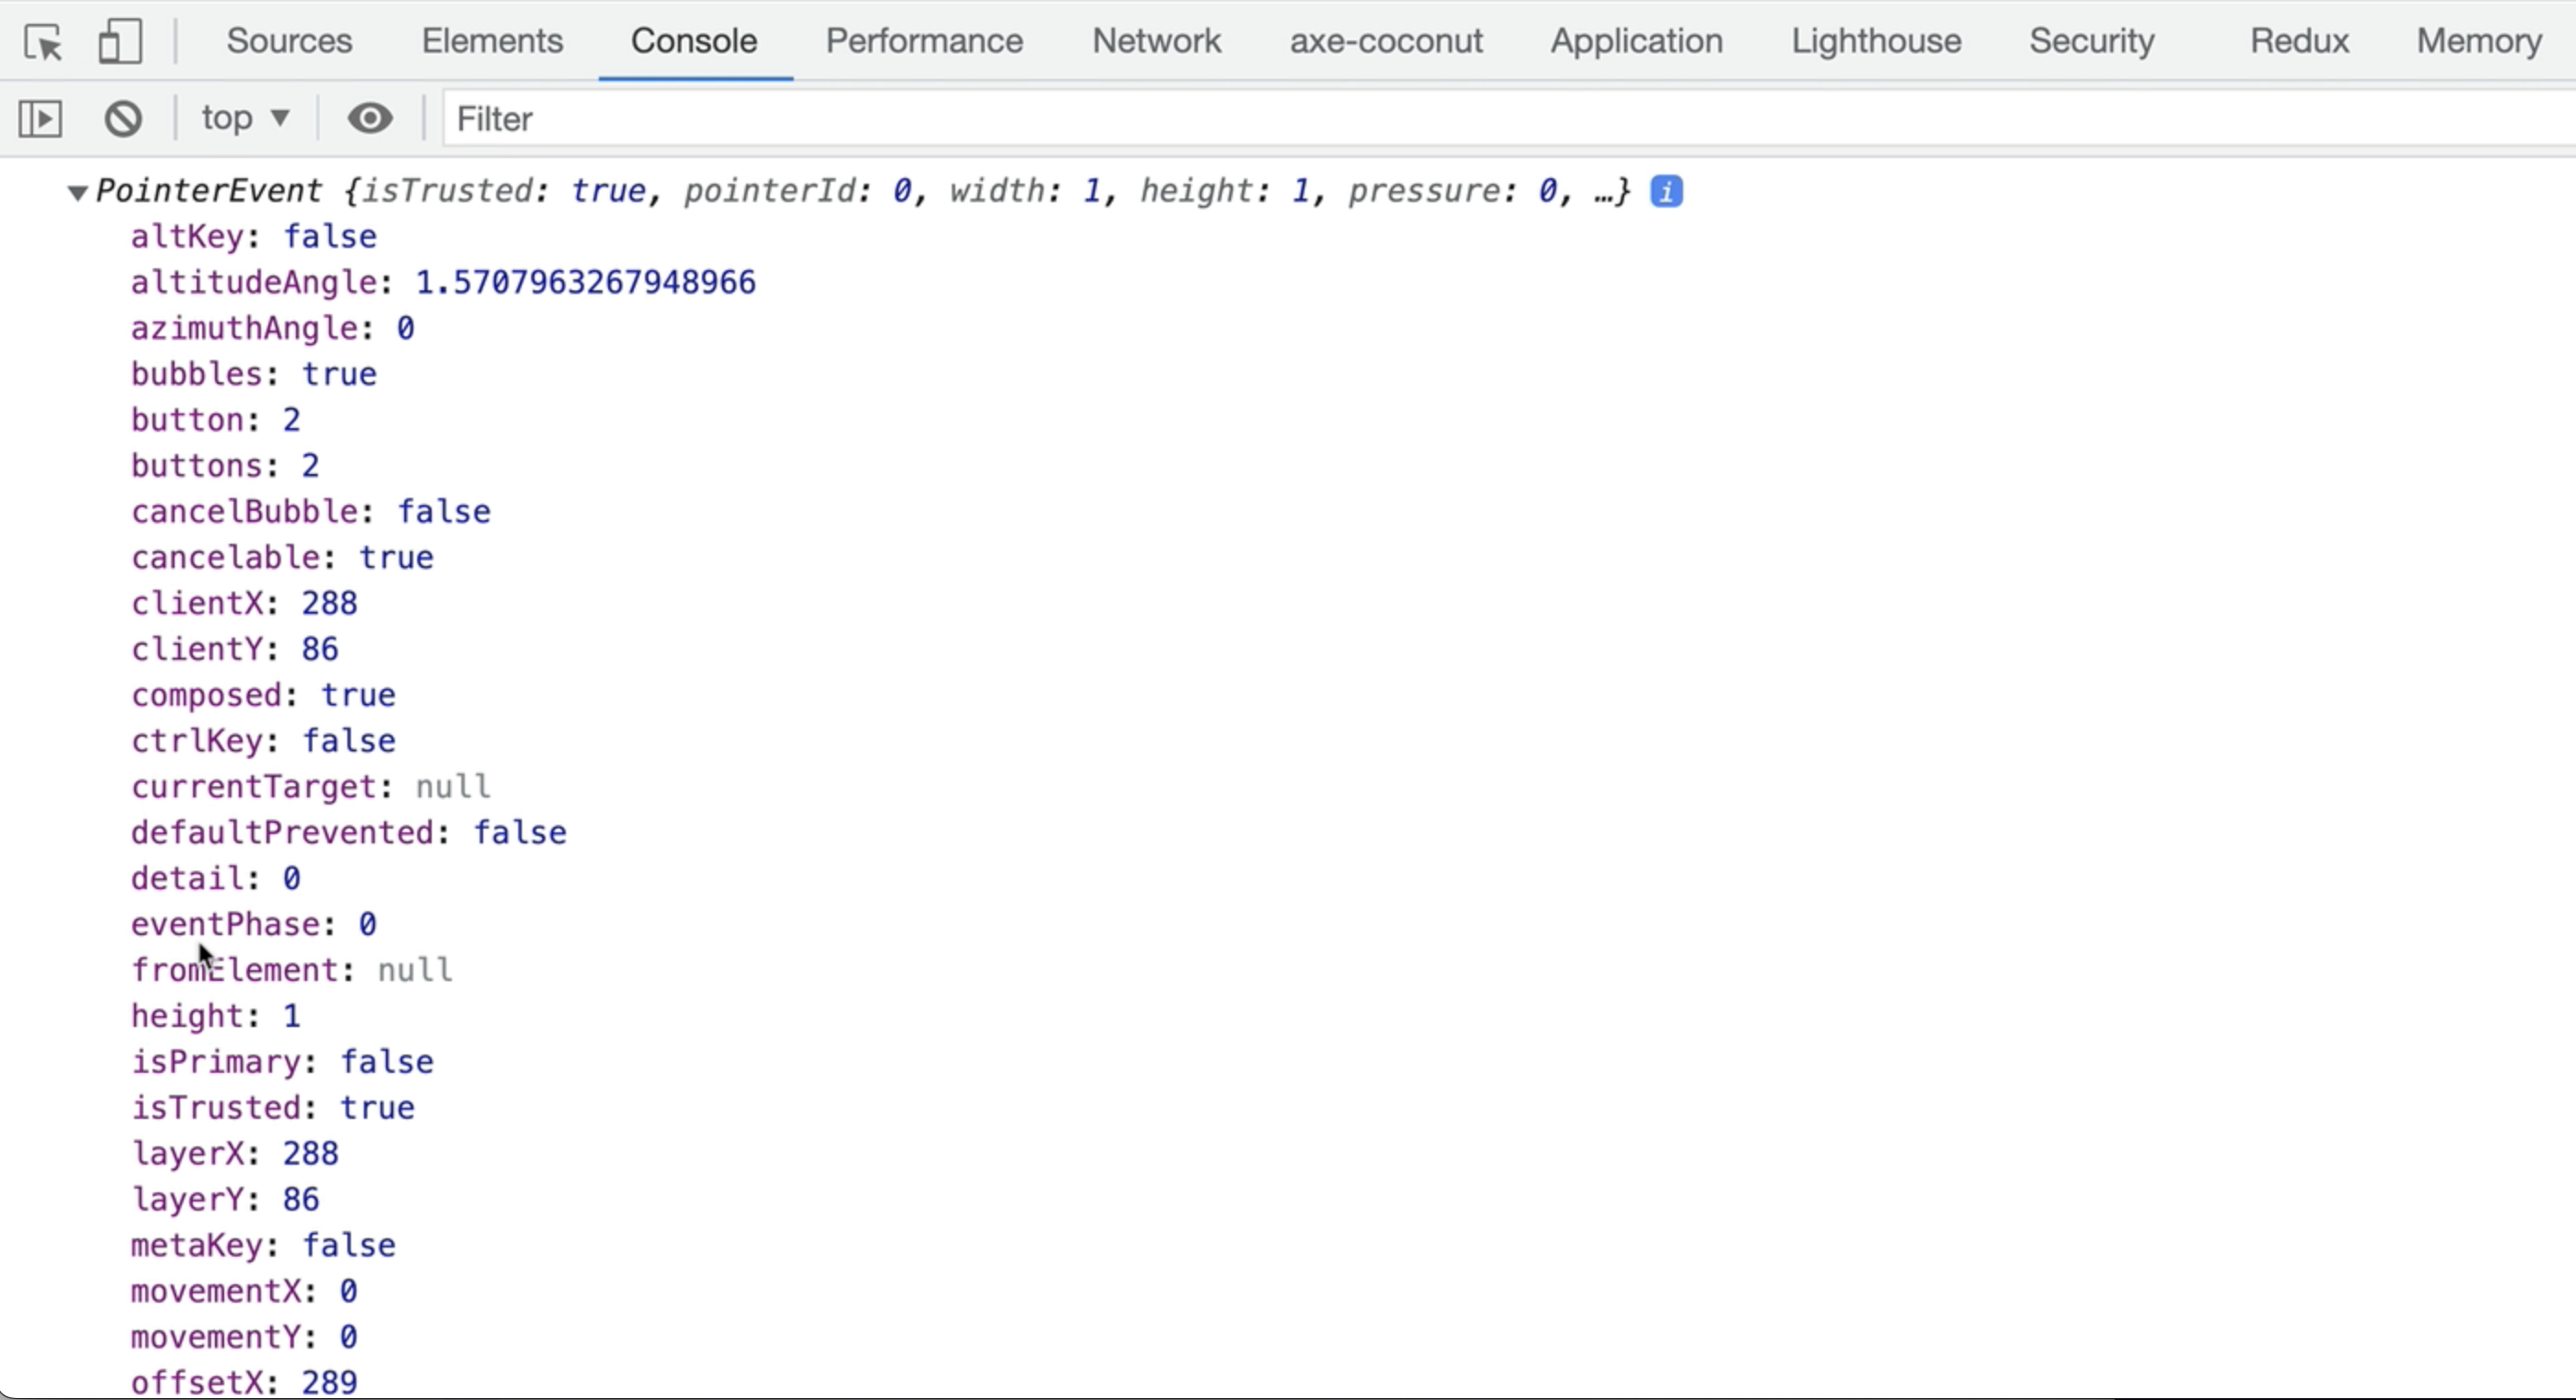
If we fire that contextmenu event, we can see the event object in the console. (it's a PointerEvent in this case)
Now, before we prevent the default on the contextmenu event, let's spice things up by adding a couple elements inside our body tags.
What we're going to do is prevent that context menu from showing up when the user right-clicks. Instead, we're going to surprise them with an image!
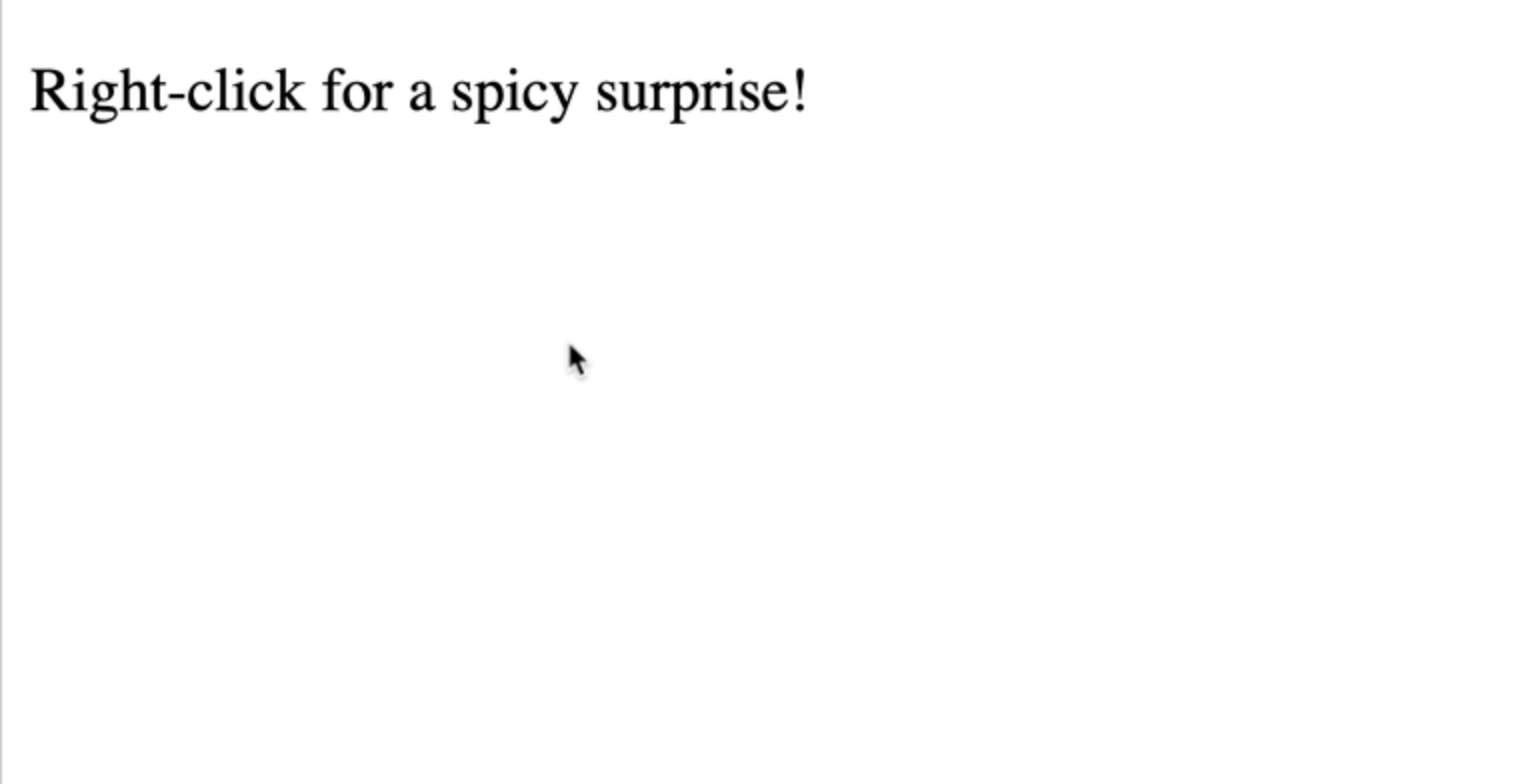
So, let's make a div and give it a class of container. Let's also create a p tag with the text content "Right-click for a spicy surprise!". (This div will be empty for now but we'll ultimately append our image to it.)
<body>
  <p>Right-click for a spicy surprise!</p>
  <div class="container"></div>
</body>
And now, in our event listener, instead of logging the event object, we'll call the preventDefault method. Using preventDefault here should prevent that context menu from appearing.
window.addEventListener("contextmenu", (e) => {
  e.preventDefault();
});
Now that we've successfully prevented the browser's default behavior, let's get a reference to the container div element.
const container = document.querySelector(".container");

window.addEventListener("contextmenu", (e) => {
  e.preventDefault();
});
Then, let's create an image element:
const container = document.querySelector(".container");

window.addEventListener("contextmenu", (e) => {
  e.preventDefault();
  const img = document.createElement("img");
});
And let's point the image source to a file I have in my directory called girls.jpg.
const container = document.querySelector(".container");

window.addEventListener("contextmenu", (e) => {
  e.preventDefault();
  const img = document.createElement("img");
  img.src = "girls.jpg";
});
Now, we can append that image element to the container:
const container = document.querySelector(".container");

window.addEventListener("contextmenu", (e) => {
  e.preventDefault();
  const img = document.createElement("img");
  img.src = "girls.jpg";
  container.appendChild(img);
});
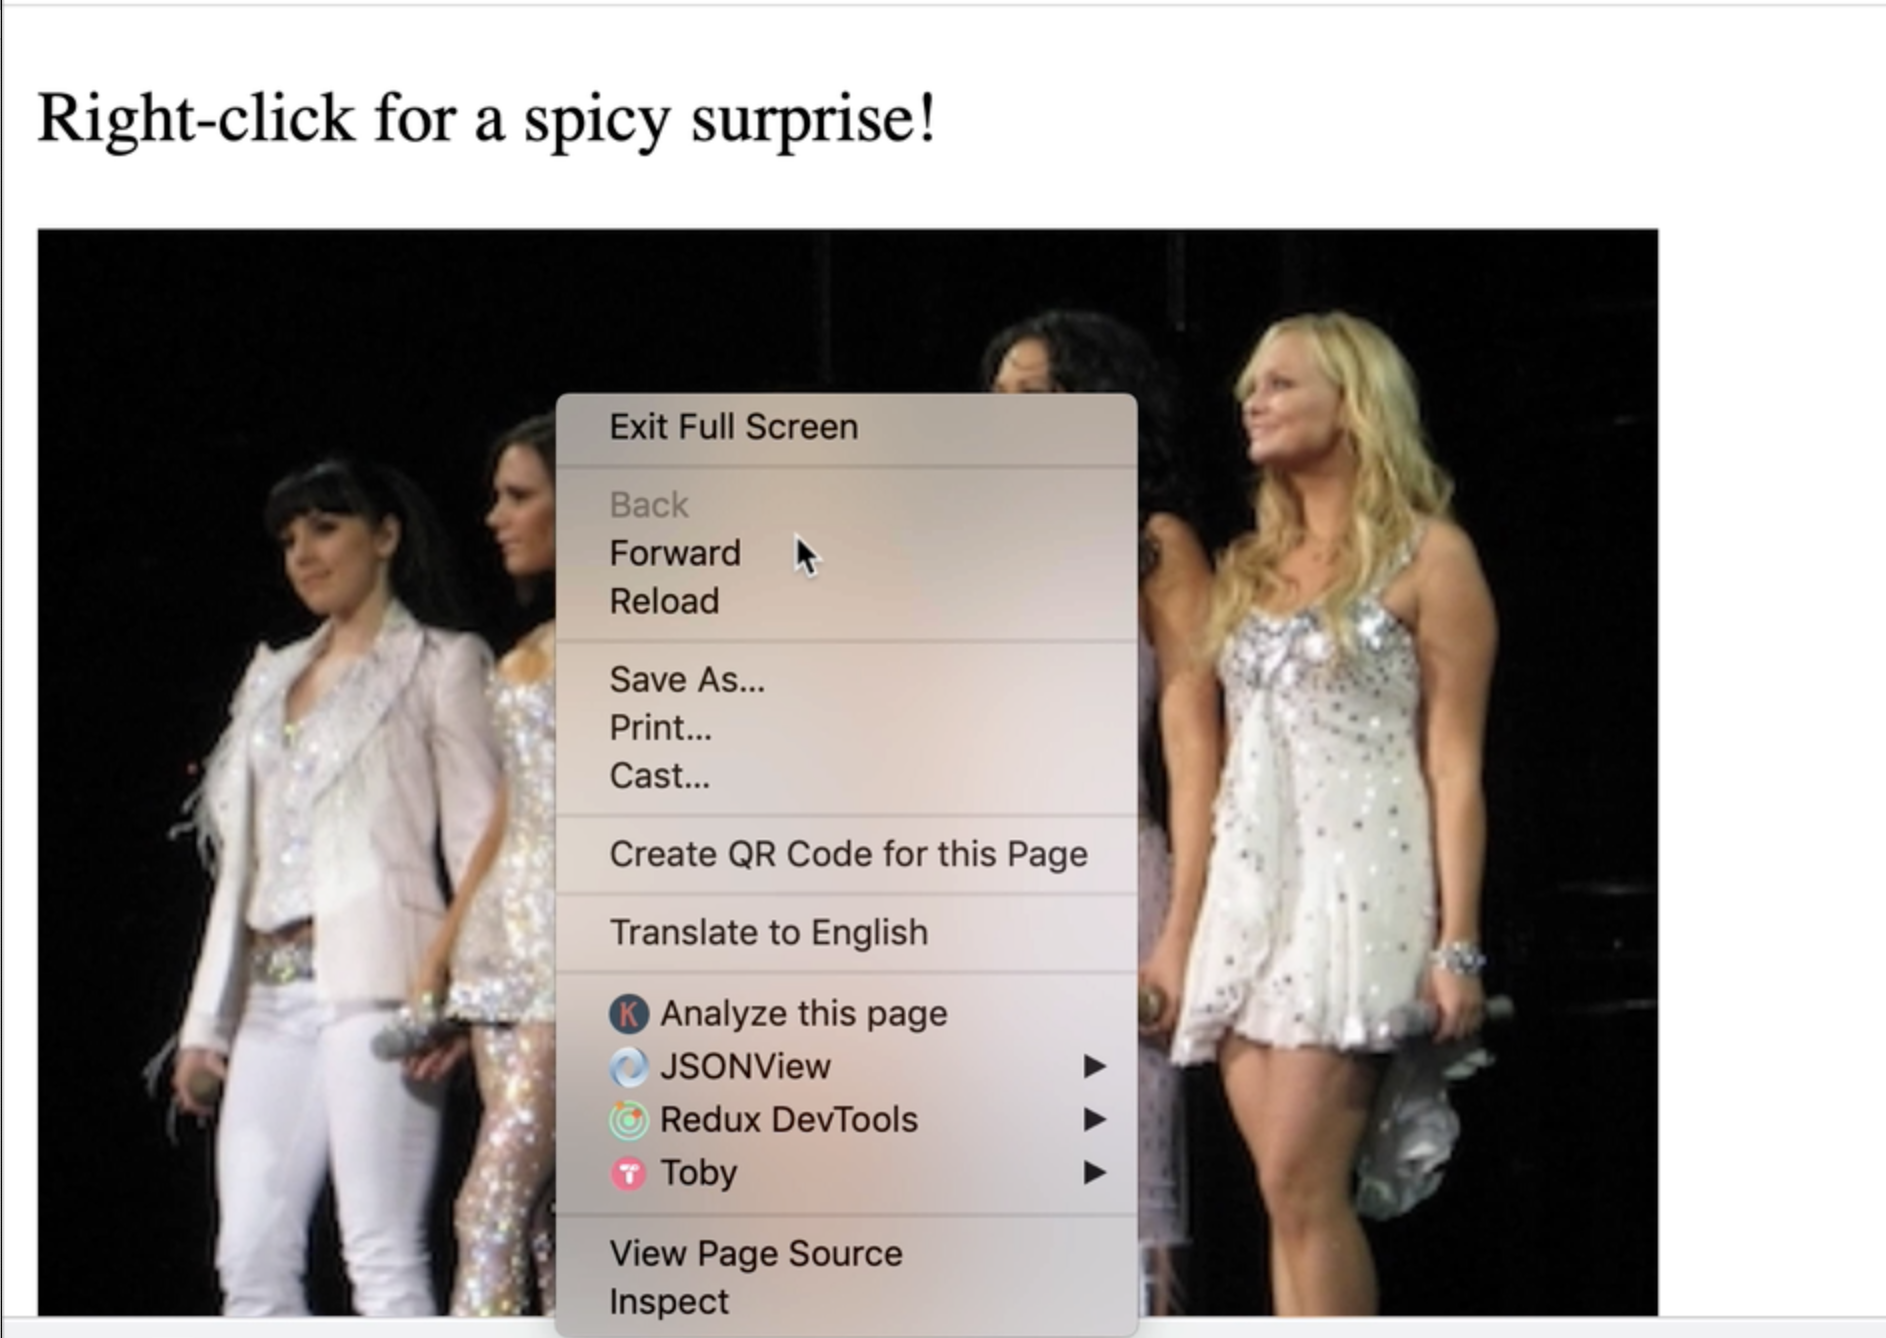
Ok, time to right-click and see what happens...

Look at that! It's the Spice Girls! 😍
If we hadn't used preventDefault and tried to right-click, you'll see the context menu obscuring our view of the Spice Girls. And that's not a very good user experience, is it? 😃
As silly as this example might be, it hopefully clarified the role that preventDefault plays.
By using preventDefault, we can stop the browser's default behavior and substitute another behavior for the default one.
Check out the video below to further solidify your understanding of preventDefault in JavaScript!