JavaScript Event Bubbling and Capturing Made Simple!
Hey everybody! In this article we're going to talk about event capturing and event bubbling in JavaScript.
These concepts are critical to understand if you want to take control of the way that events fire in the DOM and also simply to understand what's happening when we fire or trigger an event.
So let's get going!
A Hierarchy of Elements
To understand event bubbling and capturing, we first need to establish a mental model of HTML elements existing in a hierarchy.
In this diagram, we can say that the li is a child of the parent ul element. And the parent ul element, in turn, is a child of the parent div. And the div is a child of the parent body element and so on.


As we continue to ascend up the DOM tree, we eventually reach the document and finally the window object.
In other words, when we're structuring our HTML, we're establishing hierarchies of child elements to parents to grandparents...
To clarify, let's look at an example in code:
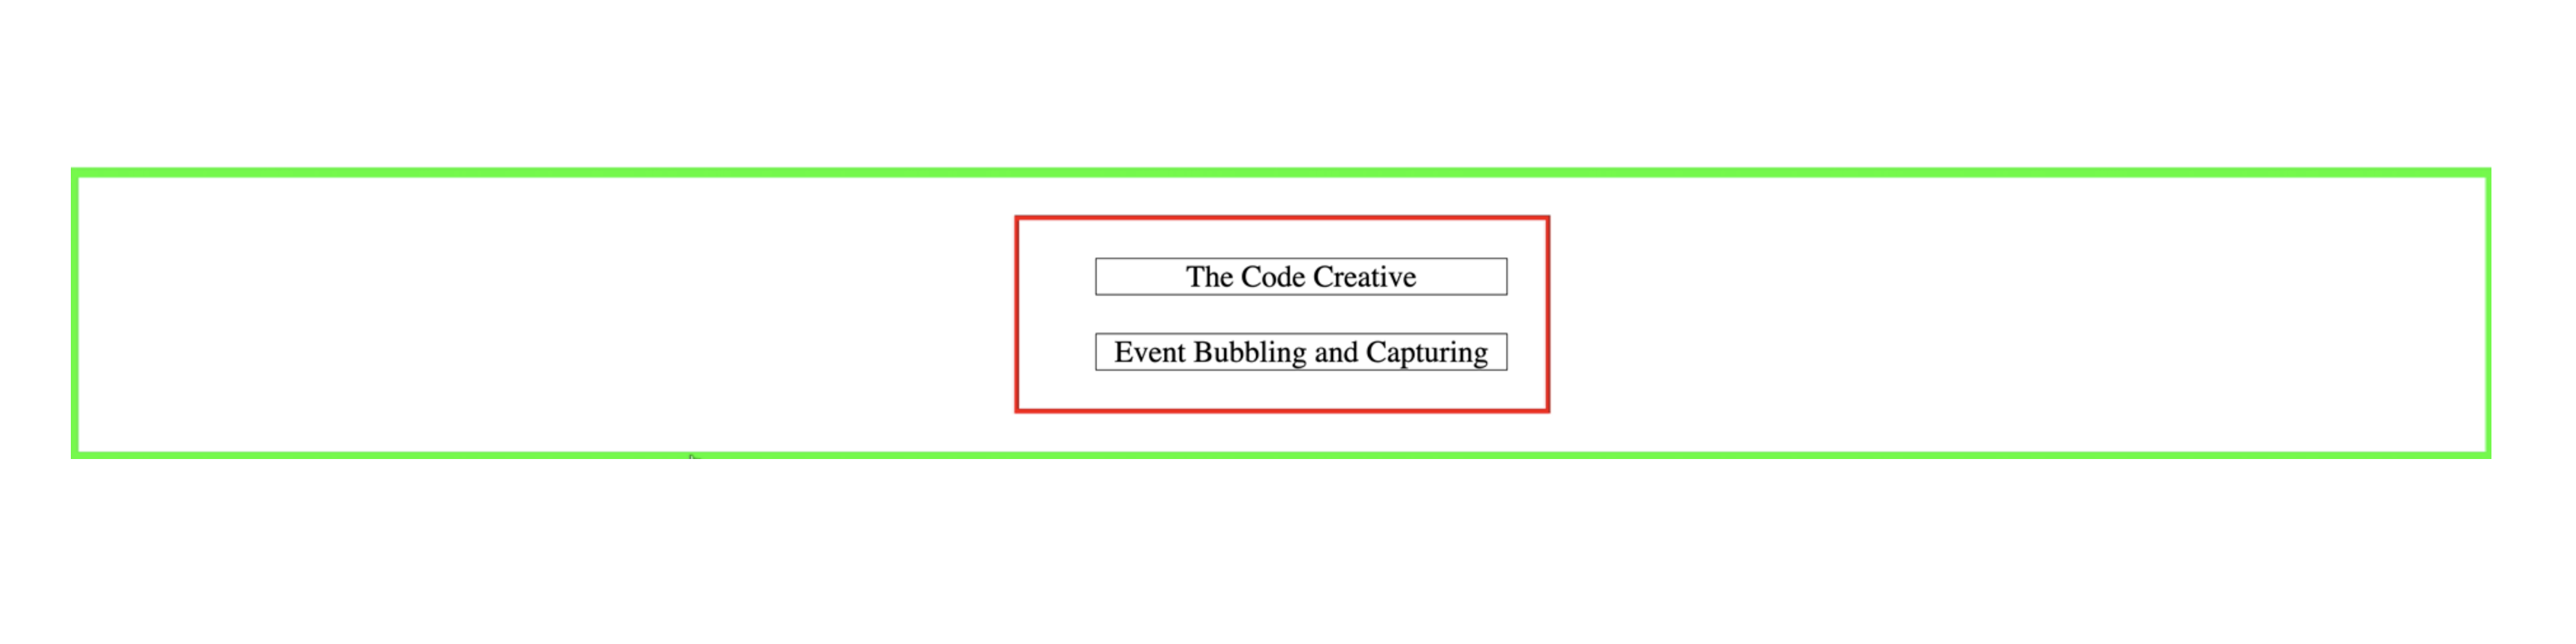
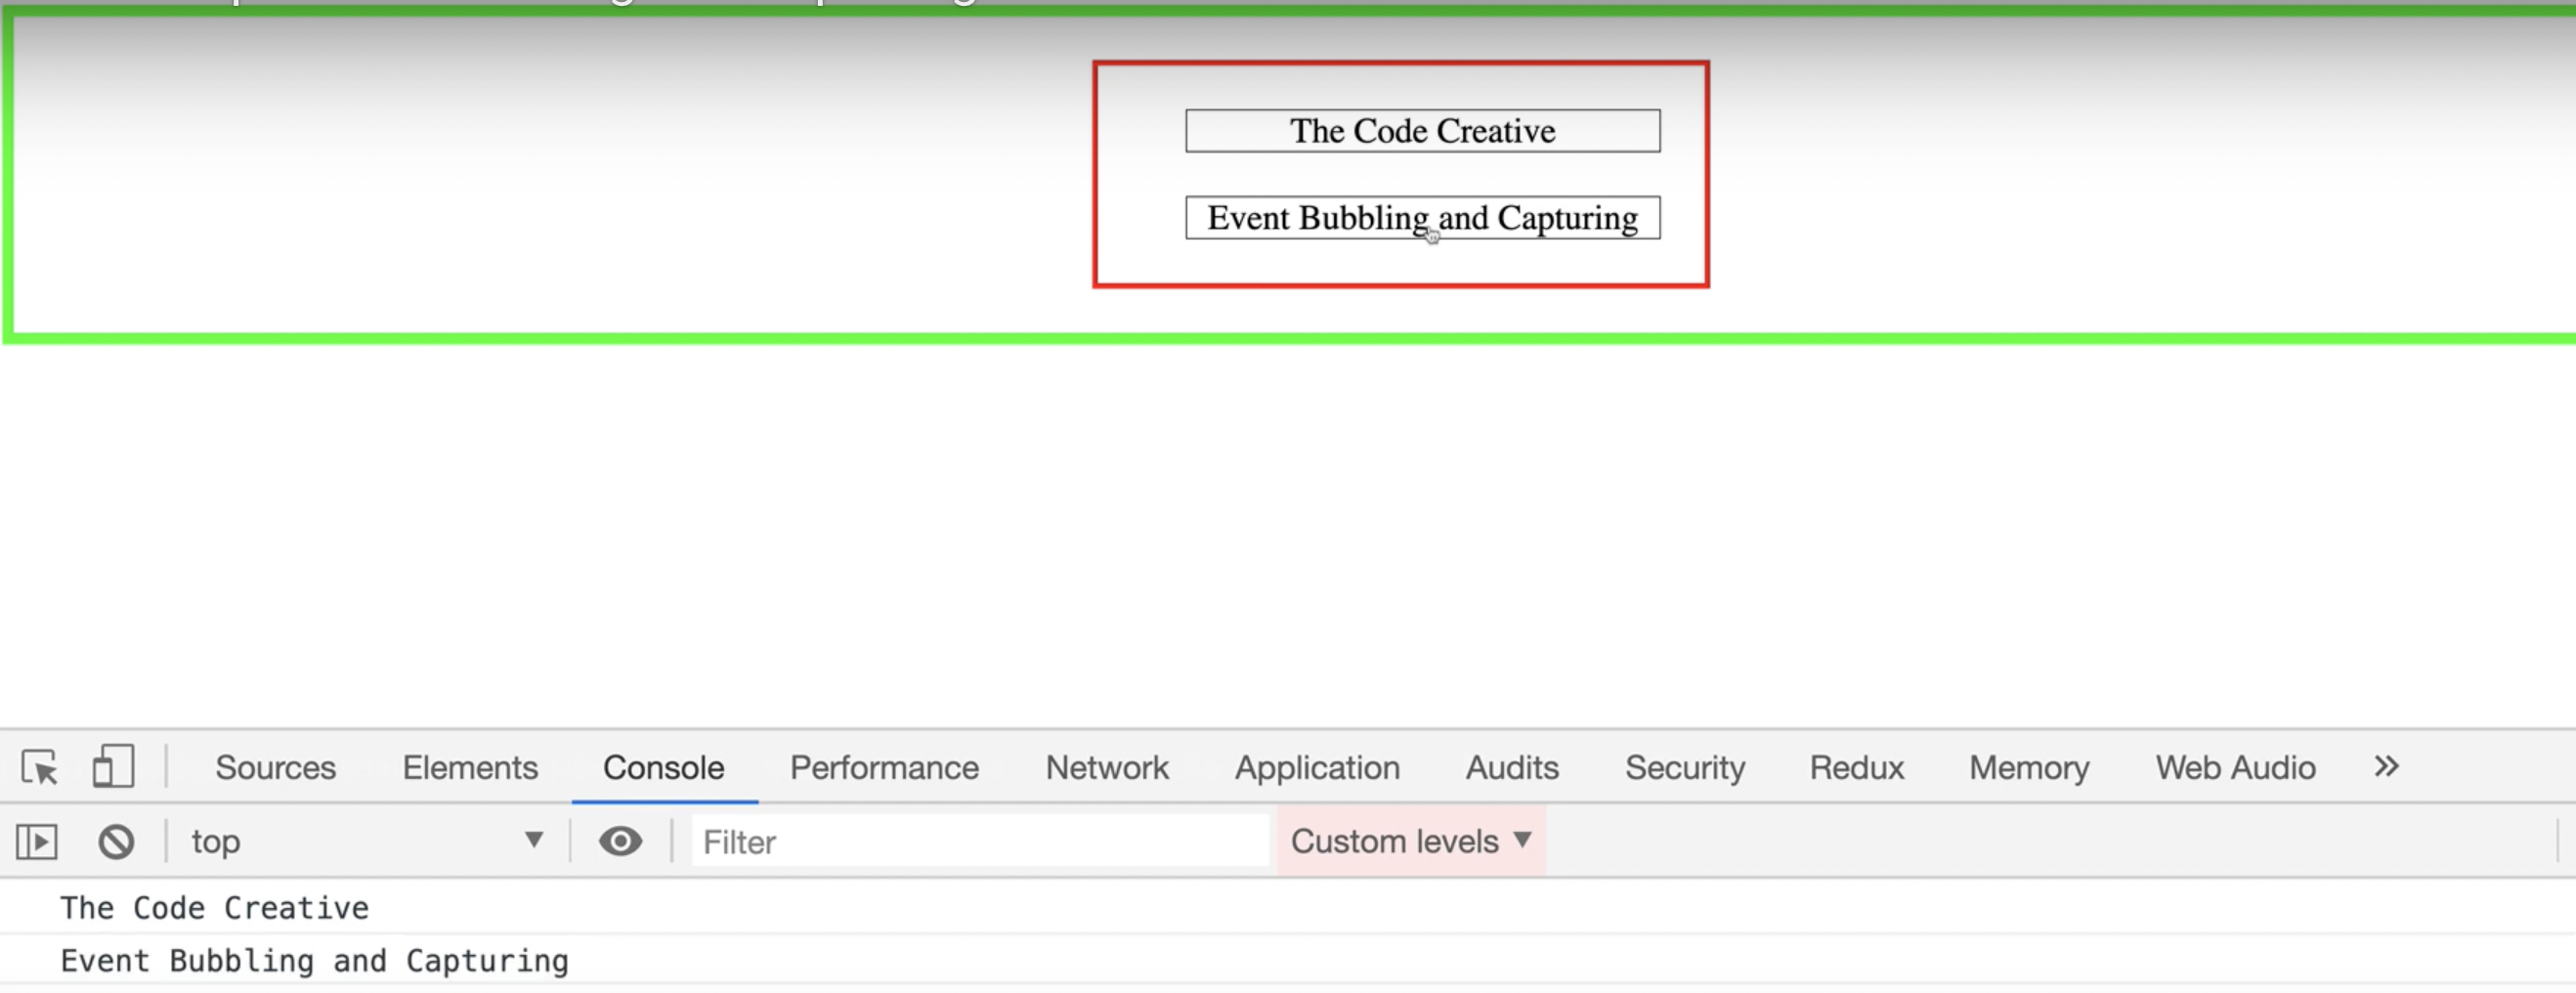
Here, in my HTML, I have an outer div with a class of container. And, within that div, I have a single ul with two lis.
<div class="container">
  <ul>
    <li>The Code Creative</li>
    <li>Event Bubbling and Capturing</li>
  </ul>
</div>
In my CSS, I've given that container div a green border and the ul a red border. Inside of the ul, we see the two lis: "The Code Creative" and "Event Bubbling and Capturing".

The CSS looks like this:
.container {
  border: 10px solid #00ff00;
  font-size: 32px;
  padding: 40px;
  cursor: pointer;
}

ul {
  margin: 0 auto;
  list-style-type: none;
  width: 20vw;
  border: 5px solid #ff0000;
}

li {
  margin: 40px;
  border: 1px solid #000;
  text-align: center;
}
Here's the important part: Because of this nested hierarchy, if I set up one of these lis to respond to a click event and the user clicks on one of these lis, we can, essentially, say that the user has clicked on the parent ul. In the same way, we can also say that the user has clicked on the enclosing container div.
So again, if I'm clicking on the child element, I'm really clicking on all of the outer parent elements as well!
Event Propagation
Which brings us to the idea of event propagation. ("propagation" means "widely spreading").
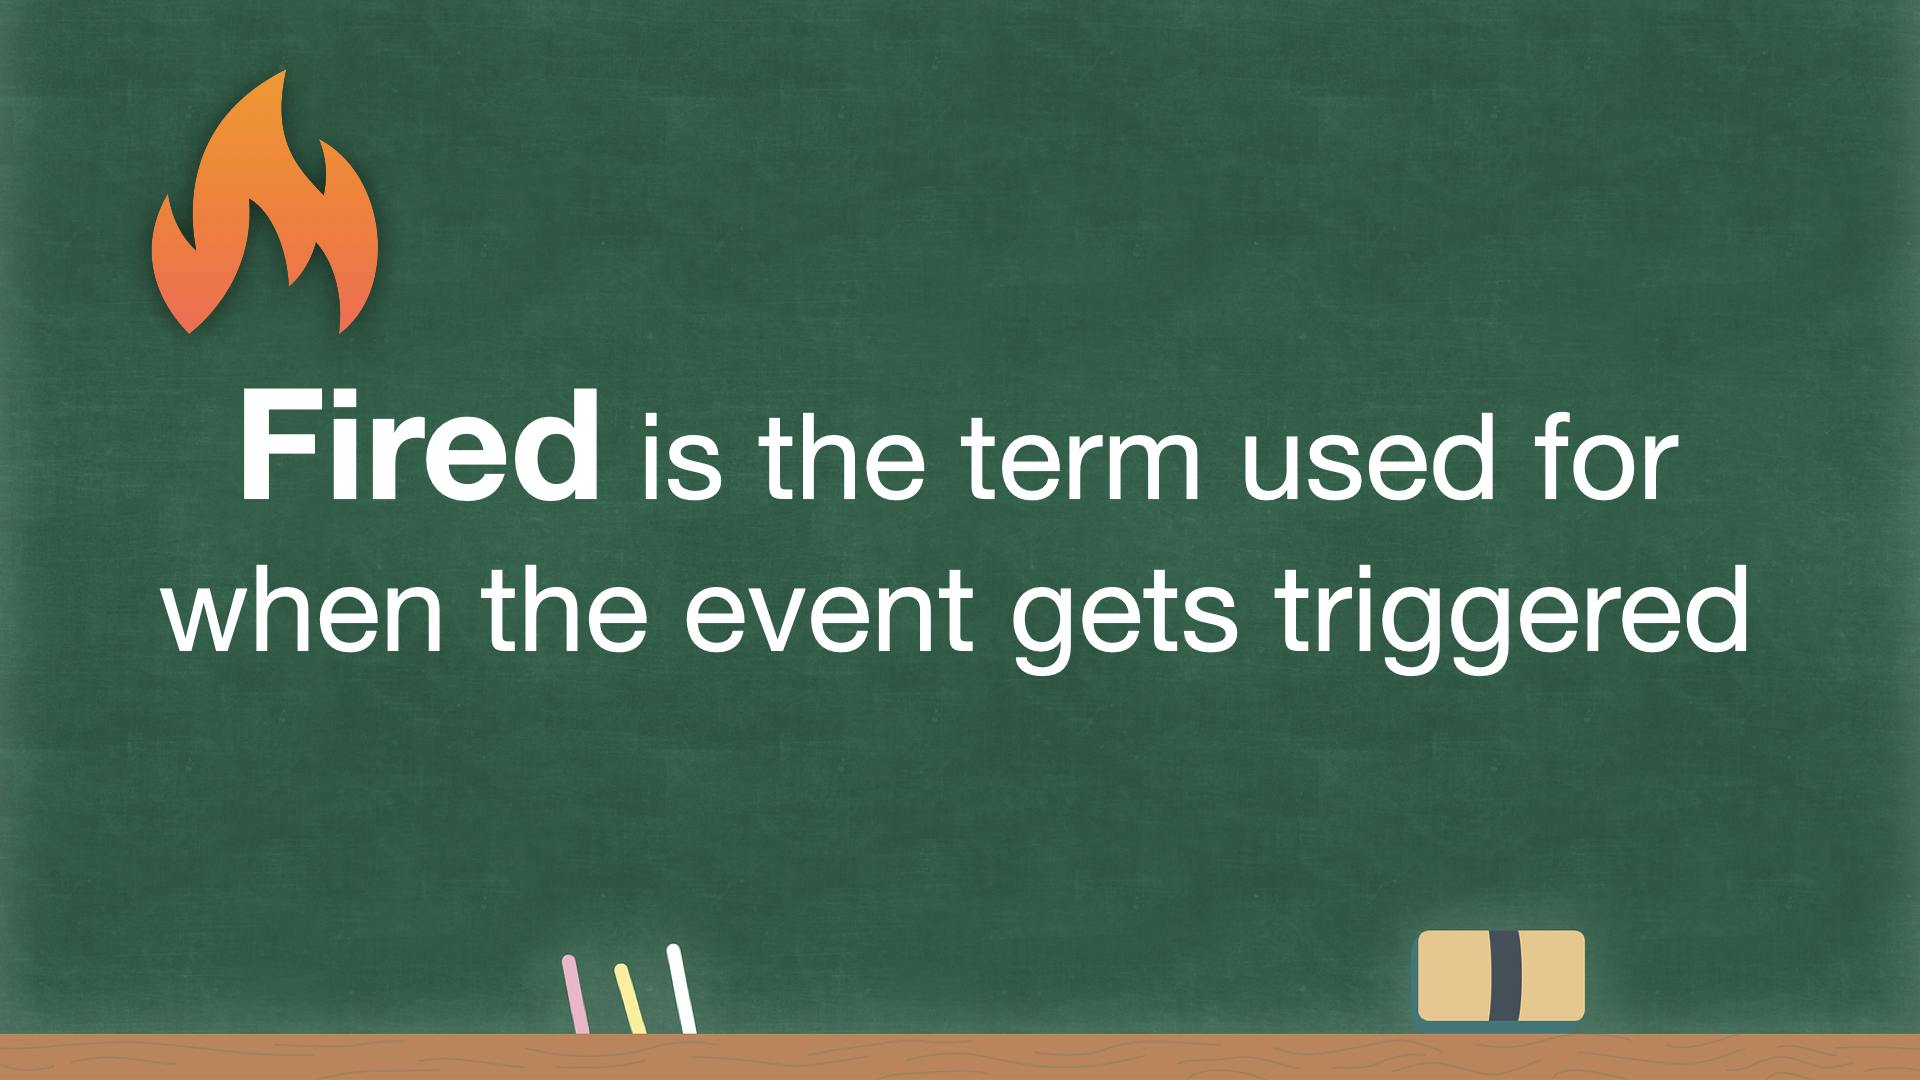
When an event is "fired" on a child element, that event spreads or "propagates" throughout the entire DOM hierarchy.

And it does this in three different phases:
- the capture phase.
- the target phase.
- the bubble phase.
Let's talk a little bit about each of these phases.
The Capture and Target Phases
Using our HTML heirarchy diagram, if we "fire" an event on the li, the li would be considered to be the target element.
And firing that event initiates the capture phase.

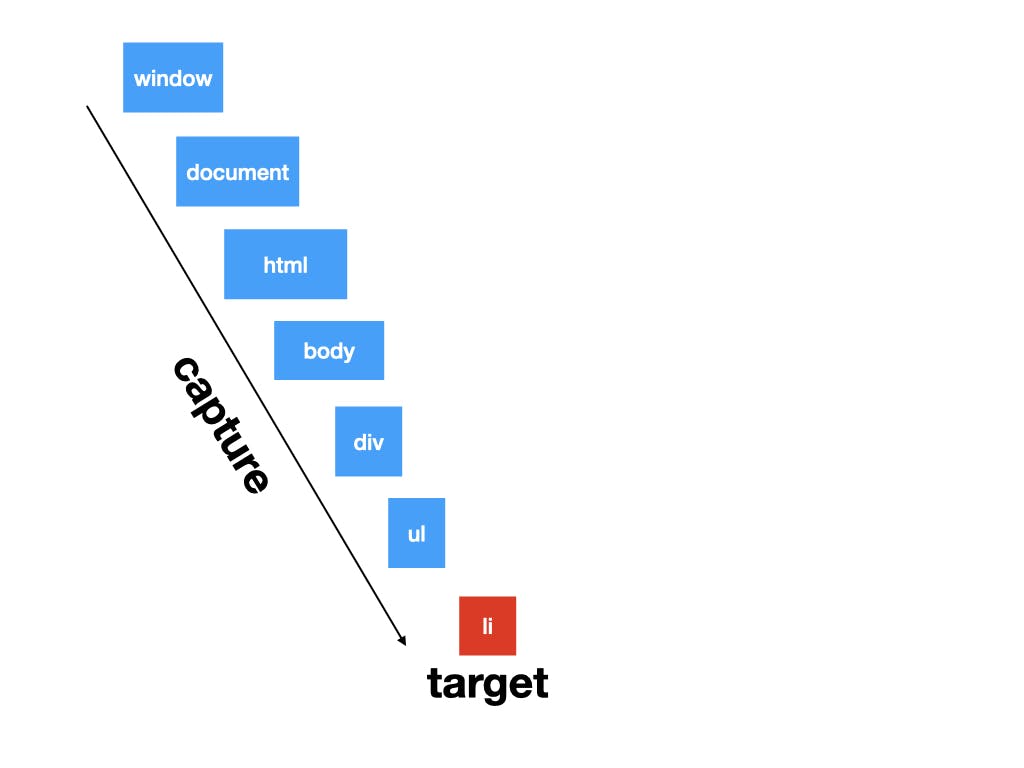
In the capture phase, the window object, at the top of the hierarchy, gets notified first of the click event.
Then, descending down the DOM tree, the document gets notified next. And then the HTML element gets notified. And then the body element. And then the div. And then the ul. These notifications all occur first as part of the capture phase.
Finally, the li,(which is the target), gets notified. This can also be referred to as the target phase.
The Bubble Phase
Once that li or target element has been notified, we ascend back up the DOM tree in what's called the bubbling phase.
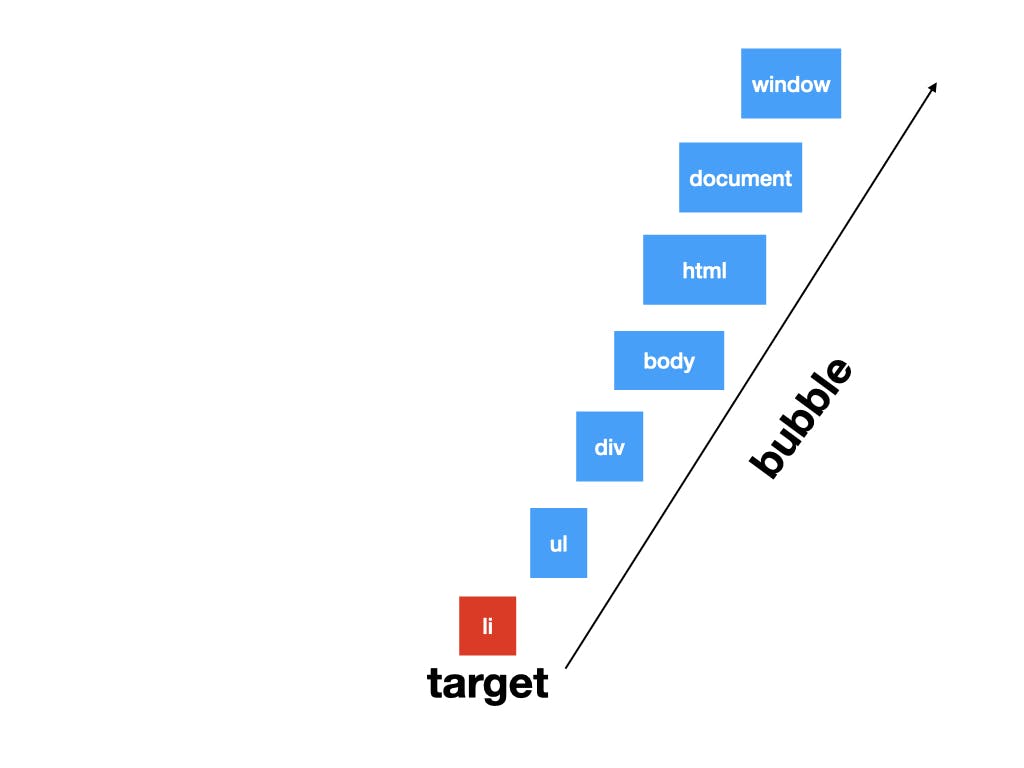
Once again, all of the elements up the hierarchy are notified. This time in reverse order, however.
So, after the target element has been notified, the ul is notified next. Then the div is notified. Then the body, up to the HTML element, up to the document and finally to the window object.
Bubbling vs. Capturing
Why are the three event stages and event propagation important to know about?
For one thing, as developers, we can decide whether we want the callback functions associated with each event to fire during the capture phase or during the bubble phase.
The addEventListener method makes it easy to use one or the other.
Now, by default, addEventListener invokes the callbacks during the bubbling phase.
li.addEventListener("click", () => {
  console.log("li clicked!");
});
If we want to change that to the capture phase, we can pass in a boolean value as the third argument to addEventListener. (Note: this value is false by default)
So, passing in true as a third argument means that we want the callback function to fire on the capture phase for the element.
const li = document.querySelector("li");

li.addEventListener(
  "click",
  () => {
    console.log("li clicked!");
  },
  true
);
Another way to pass this in, which will produce an identical result, is to pass in an object with a key of capture and a value set to true. Passing it this way allows us to use this third parameter as an options object, enabling the inclusion of additional parameters.
const li = document.querySelector("li");

li.addEventListener(
  "click",
  () => {
    console.log("li clicked!");
  },
  { capture: true }
);
stopPropagation
There may be some situations where you don't want this propagation. Or, perhaps, you want to limit the extent to which it occurs.
And for this, we have a method called stopPropagation.
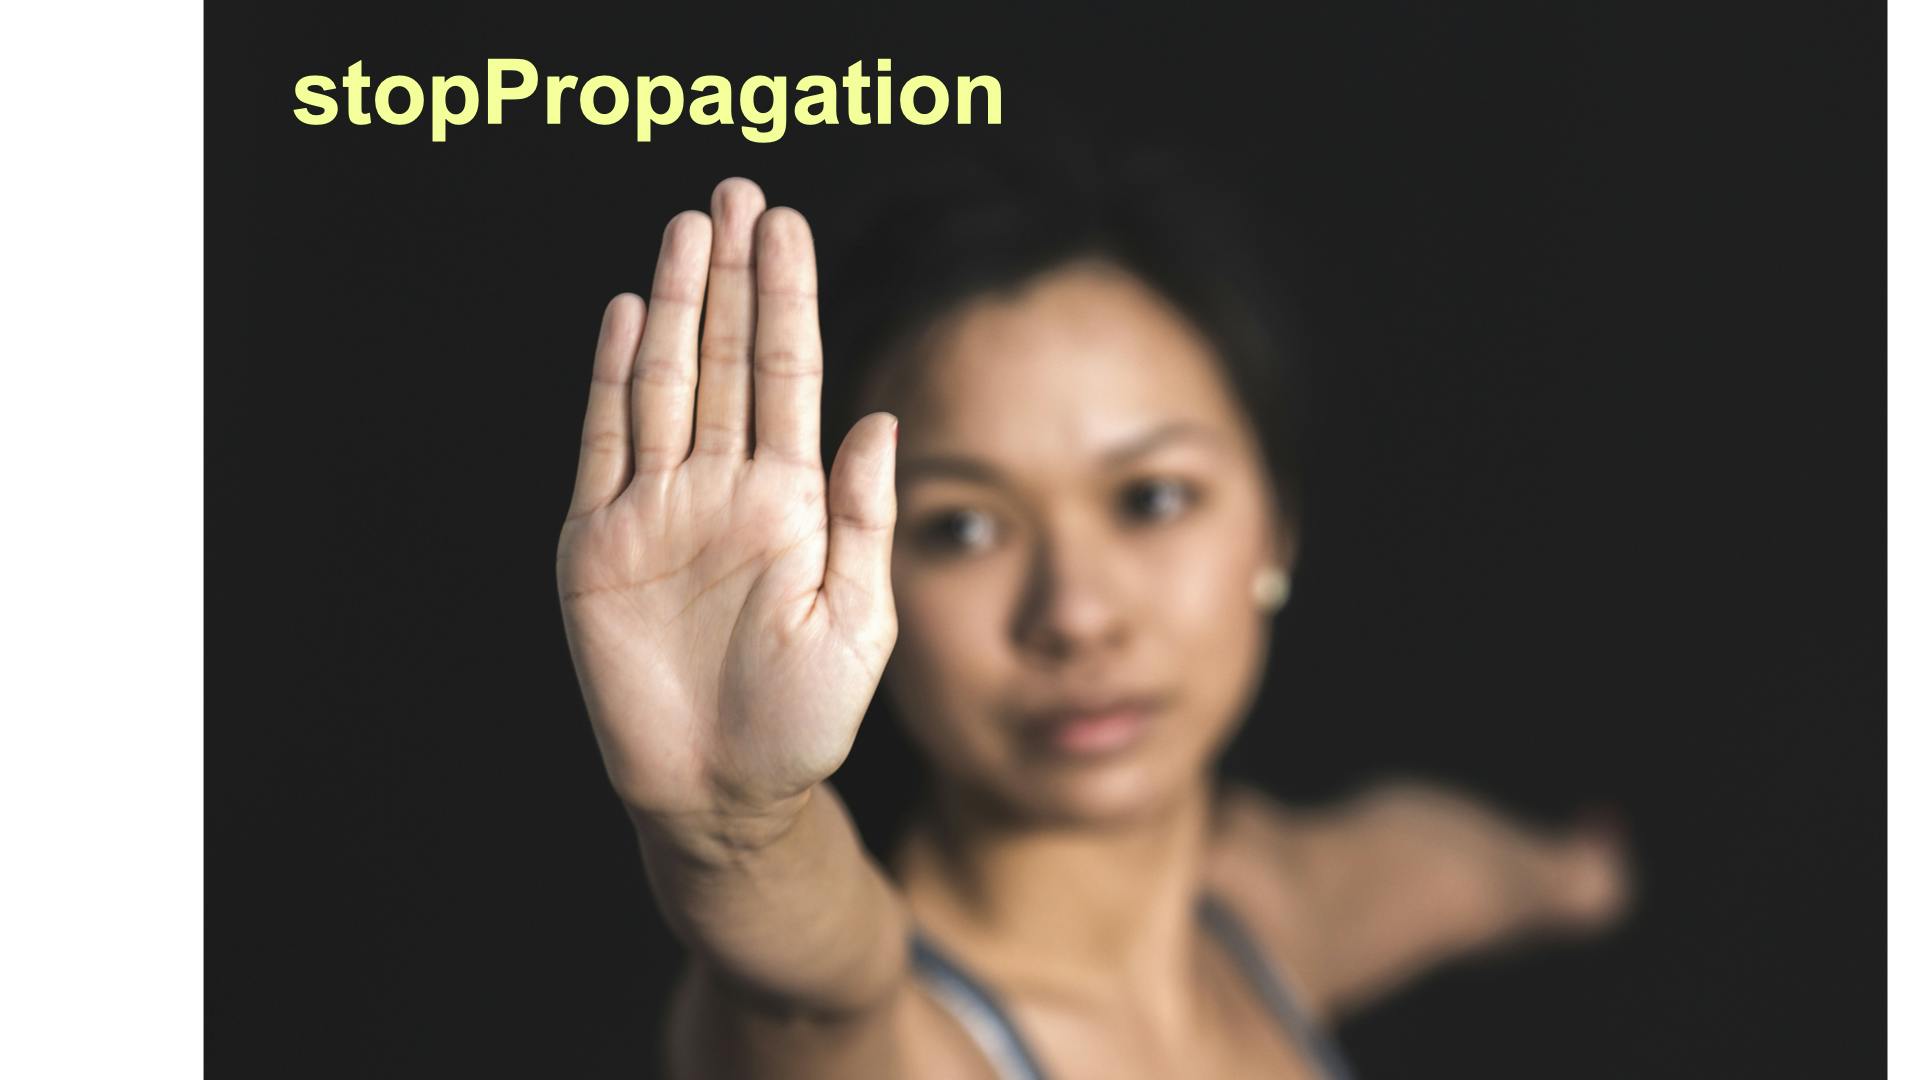
We can find the stopPropagation method on the event object that gets passed in automatically to the addEventListener's callback function.
If, for example, we clicked on the li child element, the container div's callback would fire first(assuming capture is set to true). It would then propagate down to the next child element, the ul, and its callback would fire.
If we used event.stopPropagation, on the container div though, what should happen is that only the callback on the container element would fire but go no further.
const container = document.querySelector("container");

container.addEventListener(
  "click",
  (event) => {
    event.stopPropagation();
    console.log("container clicked!");
  },
  { capture: true }
);
Event Delegation
One of the main reasons why event bubbling and capturing is valuable is because we can use it for event delegation.
Thanks to the phenomenon of event propagation, with event delegation, we can avoid wasteful code duplication resulting from adding event listeners to many individual elements.
Instead, we only need to listen on a single parent element. Event delegation leverages the way bubbling and capturing work. We can use these phases to identify precisely which target element got clicked.
Event Delegation: Code Example
Say we have two lis. We want to add an event listener to each one. When each receives a click, their associated text content should log to the console.
<div class="container">
  <ul>
    <li>The Code Creative</li>
    <li>Event Bubbling and Capturing</li>
  </ul>
</div>
So, clicking on the first one would log “The Code Creative” and clicking the second one would log “Event Bubbling and Capturing”.
Your first instinct might be to select and add an event listener to each one separately. Or loop through all of them and add event listeners to each.
However, now that we know, in particular, about event bubbling, we can add the event listener only to the parent div container element.
And, because the callback function associated with this event listener gives us access to the event object, we can use the target property on that event object to identify exactly which one of the lis received the click.
For this to work, we first get a reference to the parent div container element and then set up our event listener on that container div to listen for a click event.
const container = document.querySelector("container");

container.addEventListener("click", (event) => {
  console.log(event.target.textContent);
});
Remember I said that the callback function to addEventListener automatically receives the event object? Well, one of the properties on that event object is the target property.
And that target property lets us know exactly which of the child elements got clicked.
So, in this case, we can log out event.target.textContent since we want to get the text content from each li.
Now, clicking on “The Code Creative” will log “The Code Creative” to the console. And clicking on “Event Bubbling and Capturing” will log “Event Bubbling and Capturing”.

Event delegation is frequently used when writing code. Hopefully, now you have a better understanding of exactly how it works.
Conclusion
In this article, we learned about the three phases of event propagation: capturing, target, and bubbling. We saw how to control or set the phase to our preference. And we learned how to use it practically via event delegation.
Check out the video below to solidify your understanding!